
BALANCE
Concept art:

I wanted my concept art to nail down an effective color scheme that would make my bonsai stand out. I decided to go with very warm colors - yellows and reds. The white and beige neutrals were meant to underscore the more potent colors.
 |
|---|
 |
 |
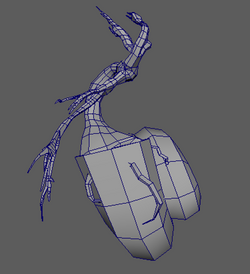
Low-poly model
in Maya:
As you can see, I decided the shell base was too weak and not impactful enough in the concept art. Therefore, I scaled it up when I did my low-poly version and made it more interactive in continuing the curve of the tree.
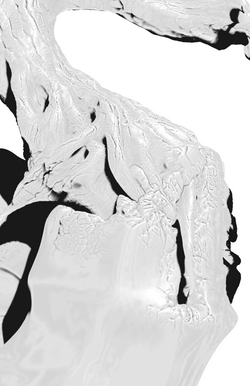
High-poly model
in ZBrush:
 |
|---|
 |
 |
 |
When creating the high-poly model, I wanted to make sure I kept that sense of flow and rhythm by having each branch and each section of the shell participate in the larger continuous curve of the piece as a whole.
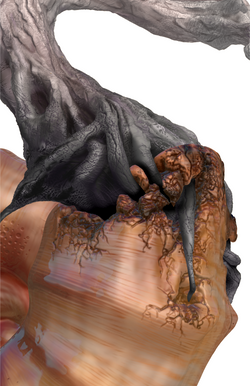
Detail texturing
in ZBrush:
 |
|---|
 |
 |
 |
The detail texturing of bark and shell was very difficult at first because I wasn't sure how to use many of the brushes in ZBrush. However, through experimentation I was able to come up with a result that I liked. Then I moved on to the poly-painting to add color.
Renders from ZBrush:
 |
|---|
 |
 |
 |
|---|
 |
 |
 |
|---|
 |
 |
Final Composites from Photoshop:


